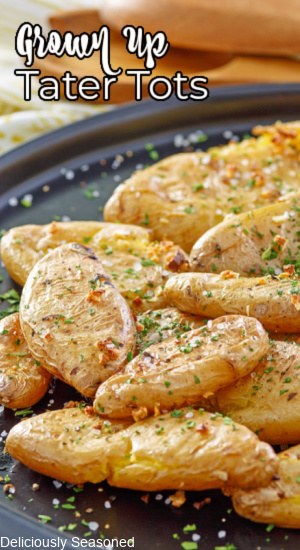
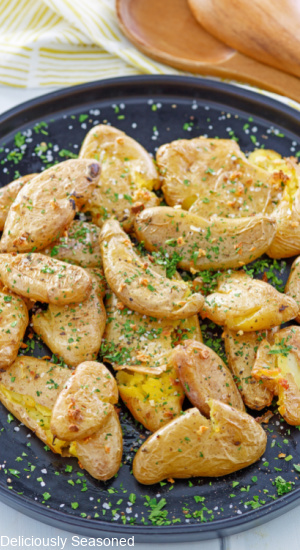
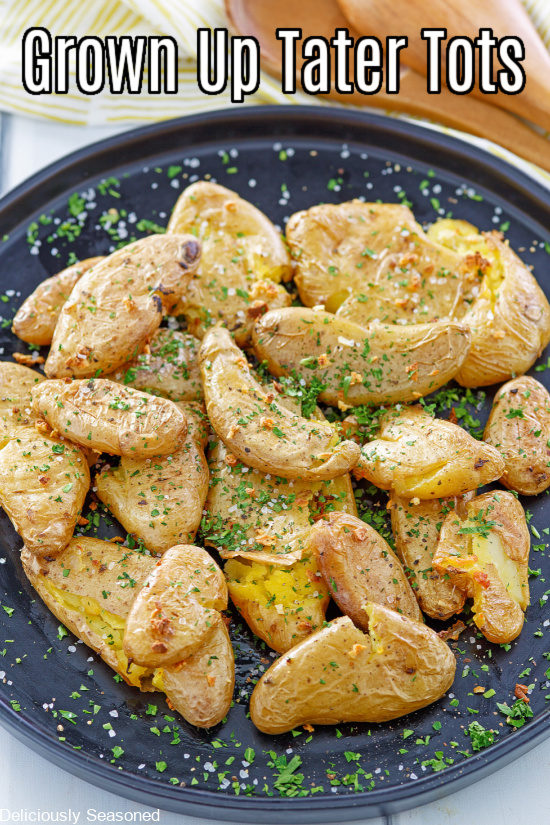
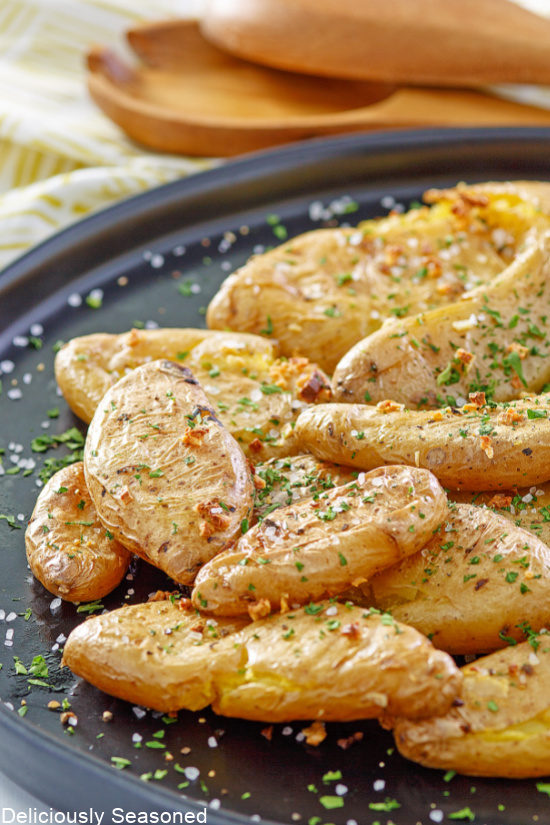
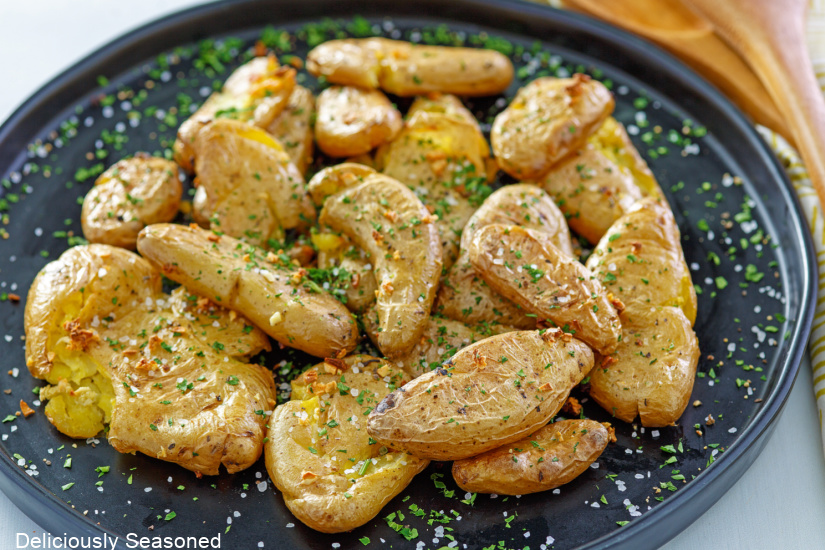
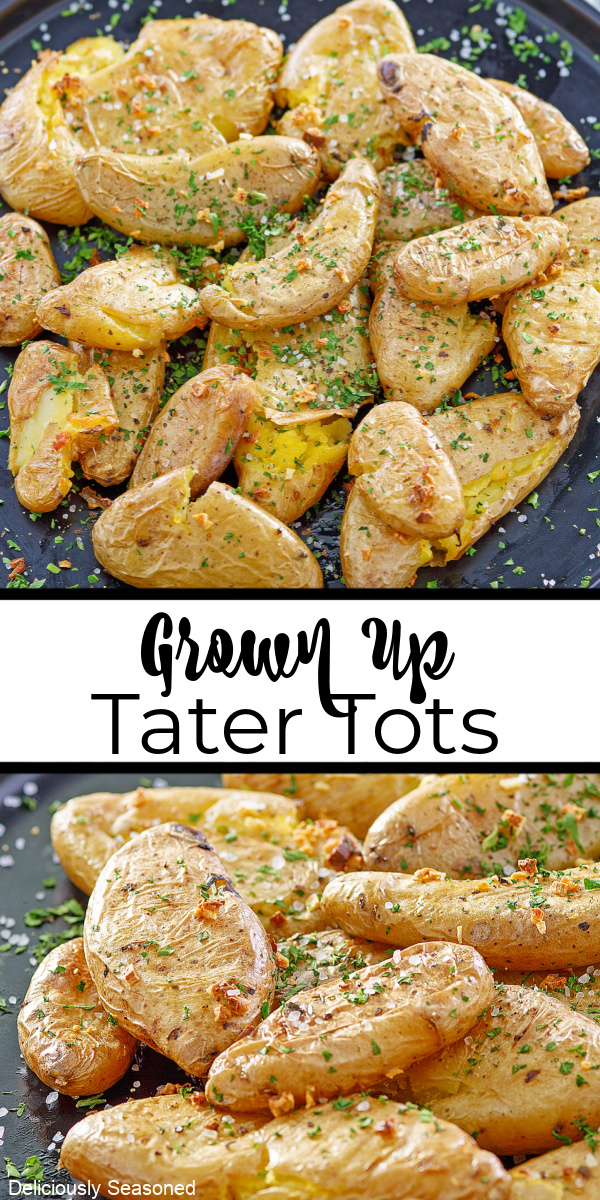
These grown up tater tots are smashed baby Yukon gold potatoes, seasoned deliciously and baked until soft on the inside and crispy on the outside. A delicious appetizer recipe that is a great conversation starter.
If you’re like me, you have fond memories of tater tots. They were a beloved childhood treat for so many us growing up, and for many of us, they’re still a beloved snack when we want some quick potato comfort food goodness. I remember well all the times I sat down with a plate of tater tots as a child. I also remember how much my kids loved them when I made them for them. Now that I’m older, I love the idea of tater tots, but I prefer food that is a bit less processed. That’s where these grown up tater tots come in, in place of frozen tots.
Grown Up Tater Tots
These adult tater tots take everything we love about tots and apply that sensibility to baby potatoes. These aren’t traditional tater tots by any means, and yet, they still provide that same satisfying flavor and crunch. They’re still delicious when dipped in ketchup, too! Try making these in place of French fries. It’s a simple recipe that basically takes roasted baby potatoes, squishes them down and then roasts them again to crispy on the outside, tender on the inside perfection. The absolute perfect texture of potatoes. And, oh, they’re so good.

FAQ
If you have questions about grown up tater tots, then I have answers. This FAQ answers all the most frequently asked questions about this grown up version of a childhood favorite.
What are grown up tater tots?
These “tots” are roasted baby potatoes which have been smashed down and then roasted again to create a snack or side that use whole potatoes to give us everything we’ve always loved about tots.
What kind of potatoes are best for roasting?
There are two kinds of potatoes that produce the best results when roasting. Russet potatoes crisp up the best, but are pale in color. Yukon Gold potatoes are balanced, providing a bit less crispness on the outside, however, they do give more flavor. Some people like red potatoes, but I find them to be too soft for this recipe.
Why are they called grown up tater tots?
These tots get their name because they take the idea of a crispy potato treat and translate it to whole, baby potatoes. Tots are usually associated with childhood which is how this recipe got its grown up name.
What to serve with grown up tater tots?
These make a great snack, but they’re also an excellent side for all kinds of dishes. Some great ideas for pairings with these potatoes include:
- Roast beef
- Roast pork
- Chicken
- Burgers
- Pulled pork sandwiches
- Eggs
- Ham
- Chili
Ingredients for Grown Up Tater Tots
These tots only take a handful of ingredients to make, and you probably have them all in your kitchen already if you do any amount of cooking at all. It couldn’t be an easier list.
- Small potatoes like baby Yukon Golds or fingerlings
- Olive oil
- Garlic minced
- Salt and freshly ground black pepper to taste
- Italian parsley finely chopped
How to Make Grown Up Tater Tots
Making this recipe is as easy as going to your kitchen and gathering the ingredients. It only takes a few minutes, and a little baking, and you’ll have a delicious plateful of taters!
Step 1: Bake the Potatoes
Preheat the oven to 350 degrees. While the oven preheats, thoroughly scrub the potatoes and then place potatoes on a baking sheet lined with parchment paper. Bake them for 20 minutes or until they’re fork-tender but not browned. Let the potatoes rest for 10 minutes or until they’re cool enough to handle.
Step 2: Smash the Potatoes
Turn the oven up to 450 degrees. Then, using the bottom of a plate, a sturdy glass, or measuring cup, smash the potatoes with firm, downward pressure. Squish each potato to about ¾-inch thickness. They’ll crack, but they should stay in one piece for the most part.
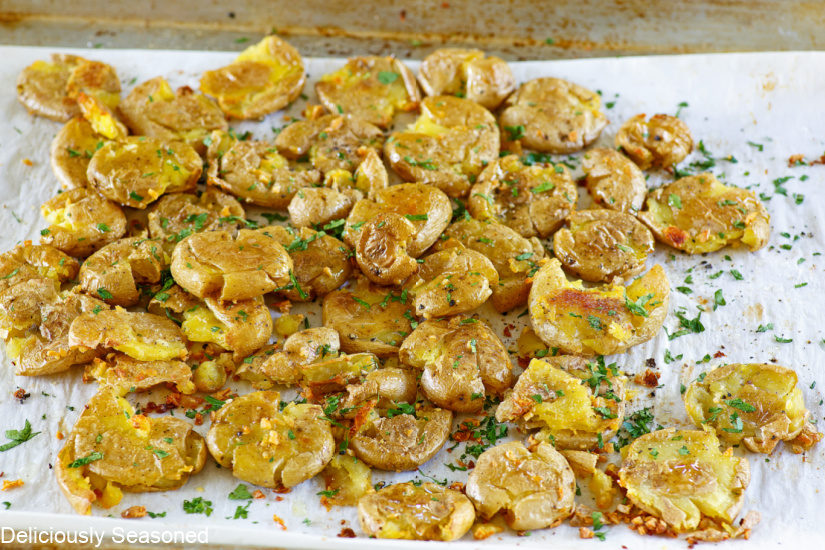
Step 3: Roast
Brush or drizzle the potatoes generously with olive oil, then sprinkle with minced garlic, and place back in the oven. Bake until crispy and golden brown. Sprinkle with a salt, pepper, and parsley mixture. Enjoy! You can also sprinkle these potatoes with white cheddar or cheddar cheese to give it a different taste.
Try These Delicious Grown Up Tater Tots Today
Give these grown up tater tots a try, and I know you’ll find yourself making them again and again. They’re easy to make, loaded with flavor, and make a great snack or side dish. They’re so versatile and simple, there’s no reason not to give them a try!
Looking for More Side Dish Recipes?
Au Gratin Potatoes – Another great potato side dish recipe that is made with sliced potatoes, onions, and a creamy cheesy sauce. These potatoes pair great with beef, chicken, and ham.
Loaded Roasted Potatoes – A super easy and quick potato recipe that is topped with ground beef, cheese, avocadoes, and salsa.
Instant Pot Mashed Potatoes – Creamy, salty, rich, and buttery. These mashed potatoes are so simple and easy to make and are perfect for busy weeknight dinners.
You may also love these Loaded Twice Baked Potatoes from Great Grub Delicious Treats. These potatoes are loaded with cheese, bacon, and sour cream.

Grown Up Tater Tots
Ingredients
- 1 pound small potatoes, baby Yukon Golds or fingerlings
- 4 tablespoons olive oil
- 2 cloves garlic, minced
- Salt and freshly ground black pepper, to taste
- Italian parsley, finely chopped
Instructions
- Preheat the oven to 350°F. Thoroughly scrub the potatoes and arrange them on a parchment-lined baking sheet. Bake for 20 minutes or until they are tender enough to pierce with a fork, but not browned. Let the potatoes rest for 10 minutes or until they are cool enough to handle.
- Turn the oven up to 450°F. Using the bottom of a plate, a sturdy rocks glass, or measuring cup, smash the potatoes with firm, downward pressure. Squish each potato to about ¾-inch thick. They will crack and split, but they should, for the most part, stay in one piece.
- Brush or drizzle generously with olive oil, sprinkle with minced garlic, and place back in the oven. Bake until crispy and golden brown, about 15 minutes.
- Sprinkle with salt, pepper, and parsley, and try not to eat the whole pan by yourself.
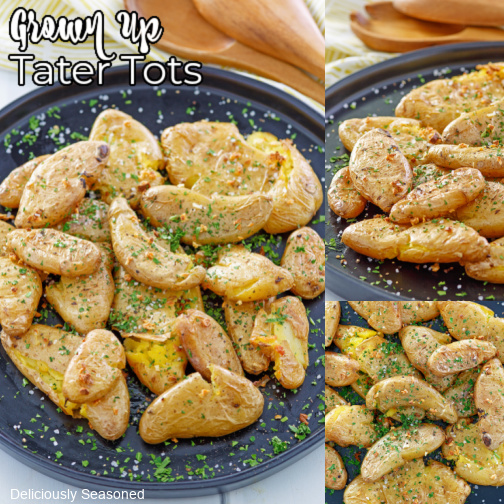
Here are a few pics that are the perfect size for pinning to Pinterest.